


13
MarWhat Are Angular Directives? Types, Examples & Best Practices
19 Jul 2025
Intermediate
15.9K Views
47 min read

Learn with an interactive course and practical hands-on labs
Angular Course Free with Certificate - Beginner Level
Directives in Angular are powerful tools that allow developers to control the structure, style, and behavior of DOM elements directly from HTML. With the help of Angular Directives, you can easily show or hide content, apply custom styling, or repeat elements dynamically. They make Angular applications more interactive, responsive, and cleaner to manage. Whether you're building a small UI or a large web app, Angular Directives play a key role in improving performance and maintainability.
In this Angular Tutorial, let's explore the directives in Angular, including Types of Directives in Angular, the difference between structural directives and attribute directives, when to Use Directives in Angular, and a lot more.
If you have doubts related to why you should become an Angular Developer, just follow this: Is Angular Certification Worth It in 2025?
What are Directives in Angular?
If you are working in front-end development, Angular is one of the best frameworks you can use. It’s the fourth most popular web framework, trusted by about 22.29% of developers. Built by Google in 2009, Angular is perfect for creating fast, single-page applications (SPAs) using HTML and TypeScript. Big websites like Forbes, Microsoft Office Home, IBM, and Google Marketing Platform are built in Angular because it makes building lighter, faster, and more dynamic applications easier with the help of Angular Components and templates.
When you are learning Angular, understanding Angular Directives is very important. Angular Directives are special classes that let you add new behaviors to elements or change how they appear in the DOM. They work alongside Angular Components to give you full control over the structure and behavior of your web pages. With Directives, you can easily add, remove, or update elements without writing heavy code, making your development smoother and more powerful.
| Read More: Angular Roadmap to become an Angular Developer |
What Is Meant By Directives in Angular?
Directives in Angular are like instructions that tell your HTML how to behave. They add special features to elements, letting you control what shows on the page, how it looks, or how it responds to user actions. For example, they can hide/show content, repeat elements, or change styles dynamically. They’re a key part of making Angular apps interactive and powerful.
| Read More: Benefits of obtaining Angular certification |
Types of Directives in Angular
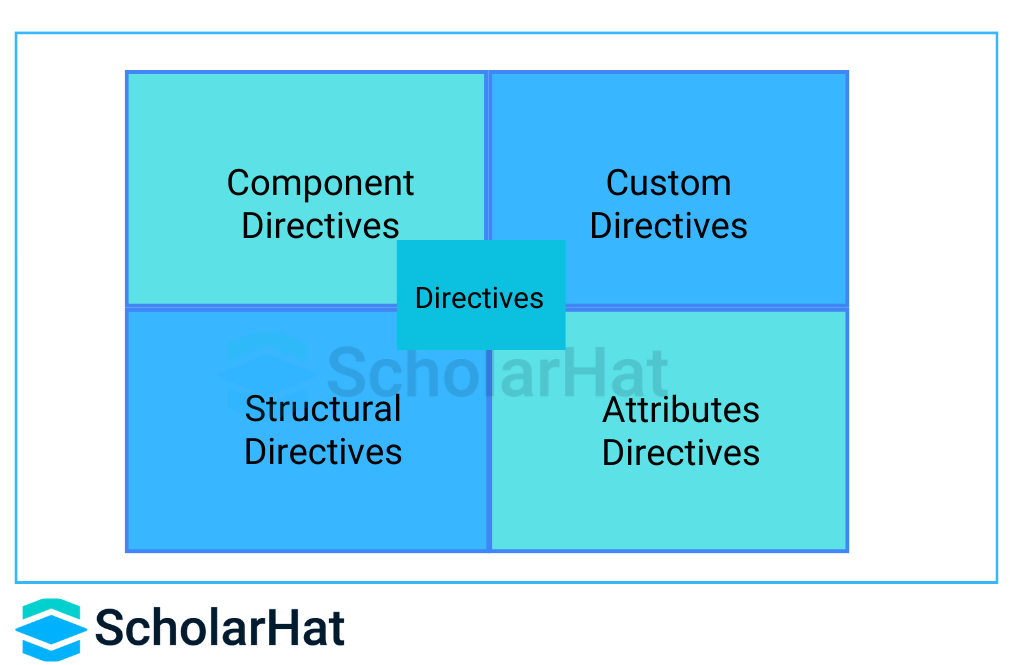
There are 4 Types of Directives in Angular:
- Component Directives
- Attribute Directives
- Structural Directives
- Custom Directives
You can see that here we explained the different types of directives in Angular with examples.
1. Components Directives
The directive with a template specification and this type of directive is the most common directive type in Angular. Typically, a Component is a directive with a template. The @Component decorator extends the @Directive decorator with template-oriented features. A component class is declared using the @Component decorator. The @Component decorator contains metadata about the component, i.e., selector, templateURL, styleUrls, etc.
Example of Component Directive
import {Component} from '@angular/core'

@Component({
  selector: 'app-hello',
  template: `<h1>Hello, World!</h1>})

export class AppComponent{}
Explanation
Here, "AppComponent" is a component directive that displays "Hello, World!" on the UI. Component directives have their own lifecycle hooks and are fundamental to Angular’s architecture. This code imports the Component class from the Angular core library and creates an Angular component called AppComponent. The @Component decorator specifies details about the component, such as its HTML template and styles.
2. Attribute Directive
The directive that changes the appearance or behavior of an element, component, or other directives. Attribute directives are used to change the appearance or behavior of an existing DOM element. ngStyle and ngClass are the commonly used examples for attribute directives. Exploring attribute directives is an essential part of Angular training.
| Common directives | Details |
| NgStyle | It adds and removes a set of CSS classes. |
| NgClass | It adds and removes a set of HTML styles. |
| NgModel | It adds two-way data binding to an HTML form element. |
NgStyle
This is used to configure multiple inline styles for HTML elements.
1. Setting inline styles with NgStyle
 import { Component } from '@angular/core';

 @Component({
 selector: 'Satya-App',
 template: `<button style='color:green' [ngStyle]="MyStyle()">Satyaprakash Samantaray</button>`
 })
 export class AppComponent {
 isBold: boolean = true;
 fontSize: number = 30;
 isItalic: boolean = true;

 MyStyle() {
 let mystyles = {
 'font-weight': this.isBold ? 'bold' : 'normal',
 'font-style': this.isItalic ? 'italic' : 'normal',
 'font-size.px': this.fontSize
 };

 return mystyles;
 }
 }
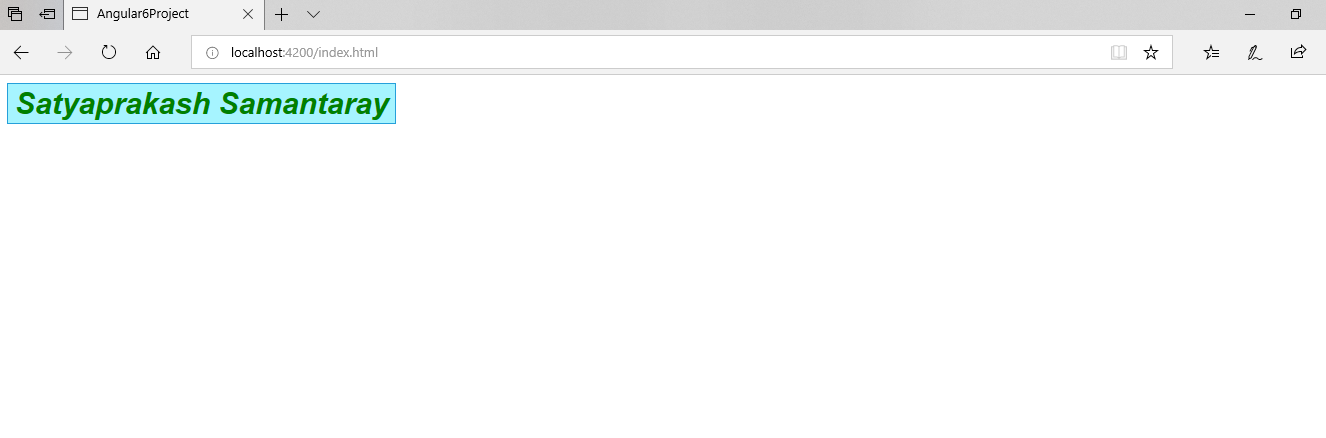
Explanation
Here I added a button control in the template part with a style sheet named MyStyle(). This MyStyle CSS method is defined as below.
 MyStyle() {
 let mystyles = {
 'font-weight': this.isBold ? 'bold' : 'normal',
 'font-style': this.isItalic ? 'italic' : 'normal',
 'font-size.px': this.fontSize
 };

 return mystyles;
Output
2. Usage of NgStyle in your component
currentStyles: Record = {};
/* . . . */
setCurrentStyles() {
  // CSS styles: set per current state of component properties
  this.currentStyles = {
    'font-style': this.canSave ? 'italic' : 'normal',
    'font-weight': !this.isUnchanged ? 'bold' : 'normal',
    'font-size': this.isSpecial ? '24px' : '12px',
  };
}
Explanation
Here, To set the element's styles, add a ngStyle property binding to "currentStyles" like the following way
<div [ngStyle]="currentStyles">
  This div is initially italic, normal weight, and extra large (24px).
</div>
For this use scenario, Angular applies the styles both at initialization and when there are changes. To accomplish this, the whole example calls setCurrentStyles() first with ngOnInit() and then when the dependent properties change due to a button click. However, these steps are not required to use ngStyle on their own. This optional implementation can be seen in the live example or downloaded as app.component.ts and app.component.html.
NgClass
This is used to set the class attribute of the HTML element to apply the style.
Example for NgClass
 import { Component } from '@angular/core';

 @Component({
 selector: 'Satya-App',
 template: `<button class='colorClass' [ngClass]='applyClasses()'>Satyaprakash Samantaray</button>`,
 styles: [`.boldClass{
 font-weight:bold;
 font-size : 30px;
 }

 .italicsClass{
 font-style:italic;
 }

 .colorClass{
 color:Red;
 }`]
 })
 export class AppComponent {
 applyBoldClass: boolean = true;
 applyItalicsClass: boolean = true;

 applyClasses() {
 let classes = {
 boldClass: this.applyBoldClass,
 italicsClass: this.applyItalicsClass
 };

 return classes;
 }
 }
Explanation
In this NgClass, we are using the class attribute of the HTML element to apply styles.
template: `<button class='colorClass' [ngClass]='applyClasses()'>Satyaprakash Samantaray</button>`,
Output

3. Structural Directive
The directive changes the DOM layout by adding or removing the DOM elements. Structural directives are used to alter the layout by adding, removing, and replacing elements in the DOM. Asterisk (*) is used when these directives are used with the HTML elements. *ngIf, *ngFor, and *ngSwitch are some commonly used structural directives in Angular.
| structural directives | functionality |
| NgIf | It conditionally creates or disposes of subviews from the template. |
| NgFor | It repeats a node for each item in a list. |
| NgSwitch | It is a set of directives that switch among alternative views. |
1. NgIf
It is used to create or remove a part of the DOM tree depending on a condition.
Example for ngIf
import { Component } from '@angular/core';
@Component({
selector: 'Satya-App',
template: `<div style='color:blue' *ngIf="true">You can See Satyaprakash....</div>`
})
export class AppComponent {
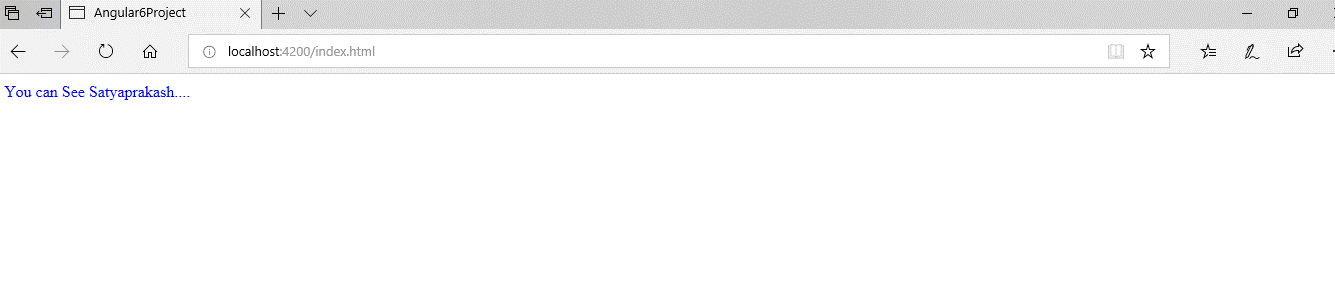
} Here, if ngif is true, the text will be visible on the web page.
template: `<div style='color:blue' *ngIf="true">You can See Satyaprakash....</div>`
Output
2. NgFor
It is used for iteration, like showing a list of items using loops.
Example for ngFor: TS Code
import { Component } from '@angular/core';

 @Component({
 selector: 'Satya-App',
 templateUrl: './app.component.html',
 })
 export class AppComponent {
 employees: any[] = [
 {
 code: '1001', name: 'Satya', gender: 'Male',
 annualSalary: 5500, dateOfBirth: '25/6/1988'
 },
 {
 code: '1002', name: 'Mohit', gender: 'Male',
 annualSalary: 5700.95, dateOfBirth: '9/6/1982'
 },
 {
 code: '1003', name: 'Rohit', gender: 'Male',
 annualSalary: 5900, dateOfBirth: '12/8/1979'
 },
 {
 code: '1004', name: 'Satyaprakash Samantaray', gender: 'Female',
 annualSalary: 6500.826, dateOfBirth: '14/10/1980'
 },
 ];
 }
Explanation
I have created a class named employees and inserted values into its corresponding properties.
 employees: any[] = [
 {
 code: '1001', name: 'Satya', gender: 'Male',
 annualSalary: 5500, dateOfBirth: '25/6/1988'
 },
Example for ngFor: HTML Code
 <!DOCTYPE html>
 <html>
 <head>
 <title></title>
 <meta charset="utf-8" />
 <style>
 table {
 font-family: arial, sans-serif;
 border-collapse: collapse;
 width: 100%;
 }

 td, th {
 border: 1px solid #dddddd;
 text-align: left;
 padding: 8px;
 }

 tr:nth-child(even) {
 background-color: #dddddd;
 }
 </style>
 </head>
 <body>
 <table align="center" border="1" cellpadding="4" cellspacing="4">
 <thead>
 <tr>
 <th style="background-color: Yellow;color: blue">Code</th>
 <th style="background-color: Yellow;color: blue">Name</th>
 <th style="background-color: Yellow;color: blue">Gender</th>
 <th style="background-color: Yellow;color: blue">Annual Salary</th>
 <th style="background-color: Yellow;color: blue">Date of Birth</th>
 </tr>
 </thead>
 <tbody>
 <tr *ngFor='let employee of employees'>
 <td>{{employee.code}}</td>
 <td>{{employee.name}}</td>
 <td>{{employee.gender}}</td>
 <td>{{employee.annualSalary}}</td>
 <td>{{employee.dateOfBirth}}</td>
 </tr>
 <tr *ngIf="!employees || employees.length==0">
 <td colspan="5">
 No employees to show in the page....
 </td>
 </tr>
 </tbody>
 </table>
 </body>
 </html>
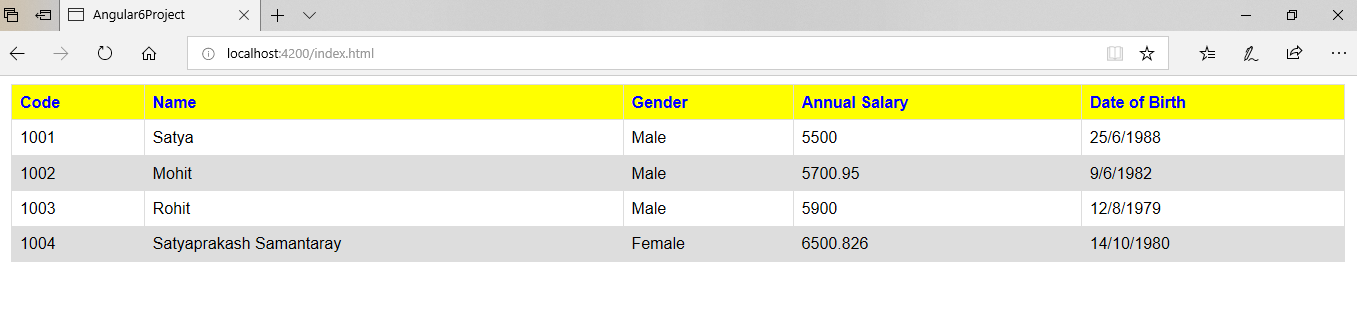
Here NgFor is used to display a list of items using repetitive loops that are data from the employee's class.
 <tr *ngFor='let employee of employees'>
 <td>{{employee.code}}</td>
 <td>{{employee.name}}</td>
 <td>{{employee.gender}}</td>
 <td>{{employee.annualSalary}}</td>
 <td>{{employee.dateOfBirth}}</td>
 </tr>
Output
3. NgSwitch
It can be used as a switch case in OOP. It is used to select one case among various cases. Angular will add only the selected option's HTML markup into the DOM.
app.component.ts with NgSwitch implementation
 import { Component } from '@angular/core';

 @Component({
 selector: 'Satya-App',
 template: `<h2>{{title}}</h2>
 <p *ngIf="showElement">Show Element</p>
 <div [ngSwitch]="inpvalue">
 <p style='color:blue' *ngSwitchCase="1">You have selected M S Dhoni</p>
 <p style='color:blue' *ngSwitchCase="2">You have selected Sachin Tendulkar</p>
 <p style='color:blue' *ngSwitchCase="3">You have selected Satyaprakash Samantaray</p>
 <p style='color:red' *ngSwitchDefault>Sorry! Invalid selection....</p>
 </div>`
 })
 export class AppComponent {

 inpvalue: number = 3;
 }
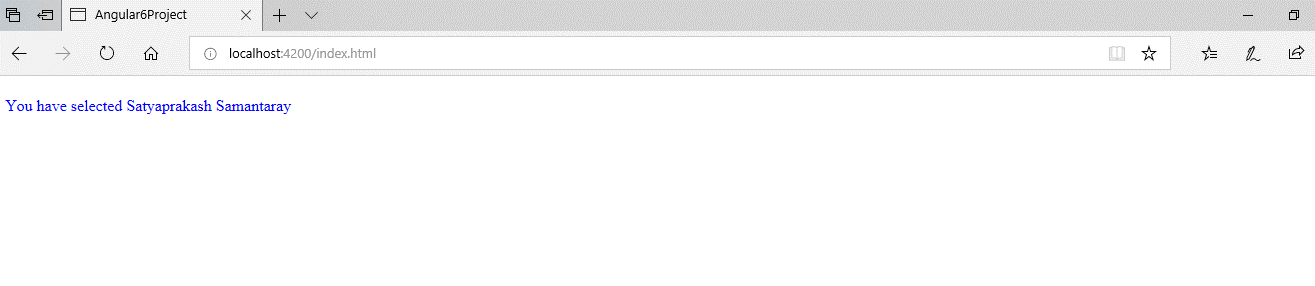
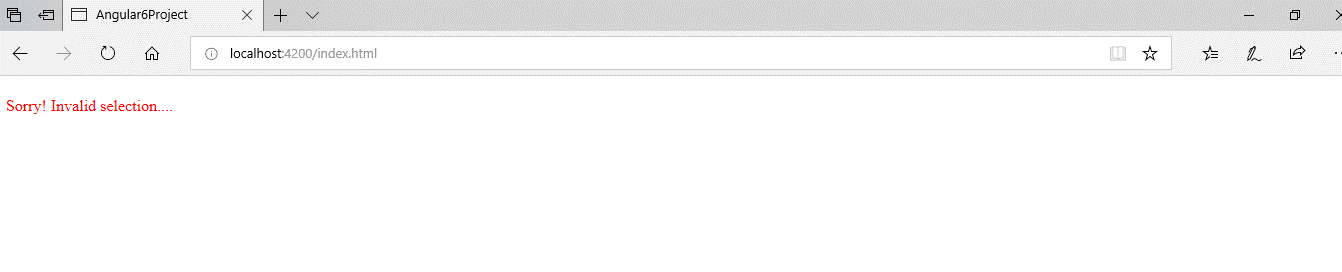
You can display one element from among several possible elements, based on a switch condition. Angular puts only the selected element into the DOM. Here we are using ngswitchcase to apply switch case, and ngswitch default is for invalid selection. Using the switch directive, we can show output by passing the value of the pvalue property in the AppComponent class.
Output
For valid selection >>
For Invalid selection >>
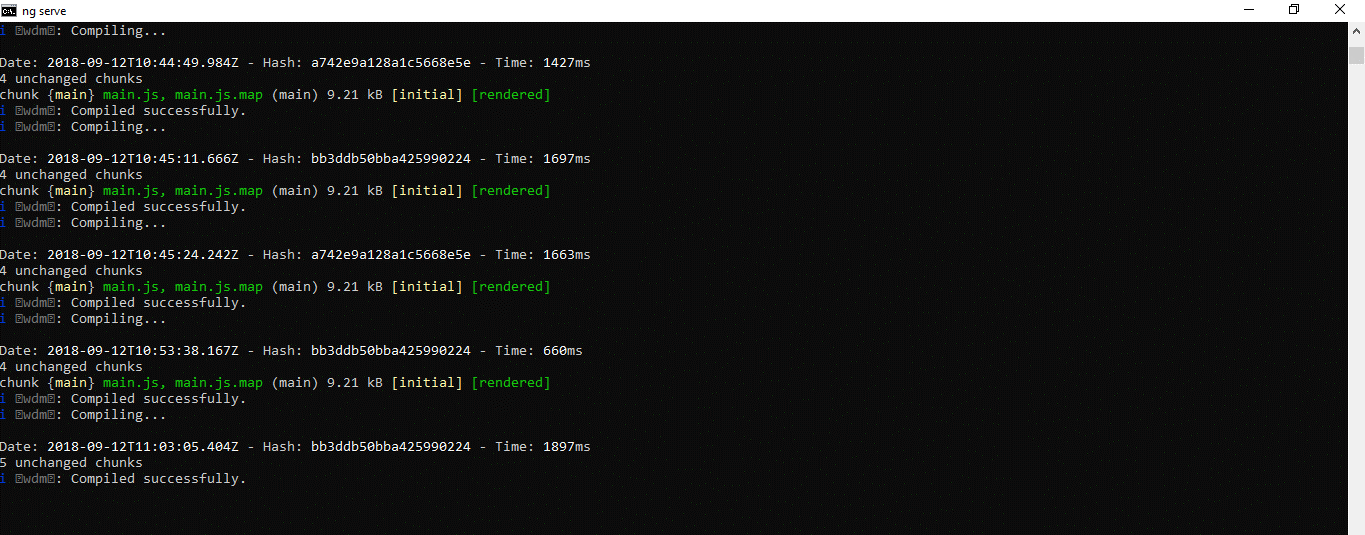
You can check the code compilation status in the command prompt during a change in code using Visual Studio.
4. Custom Attribute Directive
Custom directives can also be created if any of the above directives do not solve our purpose for the requirement. Custom attribute directives can be created by using the @Directive decorator. Custom attribute directives can be used to modify the background color and text information of an HTML element, and that process is called a host element. To change the UI look, Angular provides an ElementRef class that can directly access the DOM.
Creating a Custom Directive
Let's create a folder under an app called directives. Under directives, create a file called red.directive.ts as given below:
 import { Directive, ElementRef } from '@angular/core';

 @Directive({
 selector: '[ColorRed]'
 })
 export class MyCustomDirective {
 constructor(elRef: ElementRef) {
 elRef.nativeElement.style.color = 'darkred';
 }
 }
Make a directive named myRed directive. We can use it with HTML elements such as <p> and <div>; the text color within that element will be red. The @Directive is used as an Angular directive to retrieve directive configuration metadata. To use our custom directive in our Angular project, follow the code below to set up in the application module.
 import { BrowserModule } from '@angular/platform-browser';
 import { NgModule } from '@angular/core';

 import { AppComponent } from './app.component';
 import { MyRedDirective } from './directives/red.directive';

 @NgModule({
 declarations: [
 AppComponent,
 MyCustomDirective
 ],
 imports: [
 BrowserModule
 ],
 providers: [],
 bootstrap: [AppComponent]
 })
 export class AppModule { }
 import { Component } from '@angular/core';

 @Component({
 selector: 'Satya-App',
 templateUrl: './app.component.html'
 })
 export class AppComponent {
 txtsize = '25px';
 colors = ['red', 'blue', 'orange'];
 myColor = '';
 }
<!DOCTYPE html>
 <html>
 <head>
 <title></title>
 <meta charset="utf-8" />
 <style>
 table {
 font-family: arial, sans-serif;
 border-collapse: collapse;
 width: 100%;
 }

 td, th {
 border: 1px solid #dddddd;
 text-align: left;
 padding: 8px;
 }

 tr:nth-child(even) {
 background-color: #dddddd;
 }
 </style>
 </head>
 <body>
 <p ColorRed>Custom Attribute Directive By Satyaprakash</p>
 </body>
 </html>
We are ready to use our directive in the HTML template. Find the code snippet.
<body>
 <p ColorRed>Custom Attribute Directive By Satyaprakash</p>
 </body>
 import { BrowserModule } from '@angular/platform-browser';
 import { NgModule } from '@angular/core';

 import { AppComponent } from './app.component';
 import { MyRedDirective } from './directives/red.directive';

 @NgModule({
 declarations: [
 AppComponent,
 MyCustomDirective
 ],
 imports: [
 BrowserModule
 ],
 providers: [],
 bootstrap: [AppComponent]
 })
 export class AppModule { }
Here, I import a custom attribute directive reference to configure the custom attribute that I have created.
  import { MyRedDirective } from './directives/red.directive';

 @NgModule({
 declarations: [
 AppComponent,
 MyCustomDirective
 ],
Output
Difference between structural directive and attribute directive
Structural directives are used to add, remove, and replace elements in the DOM. On the other hand, attribute directives are used to change the appearance or behavior of an existing element.
| Factor | Structural directives | Attribute directives |
| Purpose | Modify the DOM structure by adding or removing elements. | Modify the appearance or behavior of an element. |
| Effect on DOM | Can add, remove, or replace elements in the DOM. | Only affects the existing elements, no structural changes. |
| Examples | *ngIf, *ngFor, *ngSwitch | ngClass, ngStyle, [disabled] |
| Syntax | Uses a * prefix to indicate structural changes, like *ngIf. | Applied as an attribute, like [ngClass]="...". |
| Scope of Impact | Works at the template level, altering DOM elements. | Works at the element level, modifying its properties or styles. |
Passing Input to Directives
Angular's @Input decorator allows directives to receive data from their parent components. This is how it works.
- Define a @Input property: In your directive's TypeScript code, use the @Input() decorator to indicate which property will receive data. This informs Angular that the property can be bound directly from the template.
- Pass data via property binding: In your component's HTML template, use the property binding syntax ([directiveName]="data") to bind a value from your component to the directive's @Input property.
Read More: |
Other Directives
1. Host Listener Directive
A host listener directive responds to events like as mouse clicks and keyboard presses. Let's write a directive that changes the color of the text when the mouse hovers over it.
Example: HoverTextColorDirective
// hover-text-color.directive.ts
import { Directive, ElementRef, HostListener, Renderer2 } from '@angular/core';

@Directive({
  selector: '[appHoverTextColor]'
})
export class HoverTextColorDirective {
  constructor(private el: ElementRef, private renderer: Renderer2) {}

  @HostListener('mouseenter') onMouseEnter() {
    this.changeTextColor('blue');
  }

  @HostListener('mouseleave') onMouseLeave() {
    this.changeTextColor(null);
  }

  private changeTextColor(color: string | null) {
    this.renderer.setStyle(this.el.nativeElement, 'color', color);
  }
}
Usage in a template
<pappHoverTextColor>Hover over this text to change its color.</p>
Output
Hovering over the paragraph turns the text color to blue.
When the mouse is released, the color returns to its default setting.
2. Input-Bound Directive
An input-bound directive allows you to include dynamic data in the directive. Let's write an input-bound directive that changes the font size of an element dynamically.
Example: DynamicFontSizeDirective
// dynamic-font-size.directive.ts
import { Directive, ElementRef, Renderer2, Input, OnChanges } from '@angular/core';

@Directive({
  selector: '[appDynamicFontSize]'
})
export class DynamicFontSizeDirective implements OnChanges {
  @Input() appDynamicFontSize: string = '16px';  // default font size

  constructor(private el: ElementRef, private renderer: Renderer2) {}

  ngOnChanges() {
    this.renderer.setStyle(this.el.nativeElement, 'font-size', this.appDynamicFontSize);
  }
}
Usage in the template:
<p [appDynamicFontSize]="'24px'">This text has a font size of 24px.</p>
<p [appDynamicFontSize]="'18px'">This text has a font size of 18px.</p>
Output
The first paragraph’s text appears in 24px font size.
The second paragraph’s text appears in 18px font size.
Creating a Custom Directive in Angular
Angular also lets you make custom attributes or structure directives. Let's have a look at how to create a basic custom directive that changes the background color of an element on hover.import { Directive, ElementRef, HostListener, Renderer2 } from '@angular/core';
@Directive({
selector: '[appHoverHighlight]'
})
export class HoverHighlightDirective {
constructor(private el: ElementRef, private renderer: Renderer2) {}
@HostListener('mouseenter') onMouseEnter() {
this.renderer.setStyle(this.el.nativeElement, 'background-color', 'yellow');
}
@HostListener('mouseleave') onMouseLeave() {
this.renderer.removeStyle(this.el.nativeElement, 'background-color');
}
}
Explanation
In this example:Usage in a template
<p appHoverHighlight>Hover over this text to see the effect!</p>
When to Use Directives in Angular
Directives are especially useful when it comes to:
Benefits of Using Directives
Summary
In conclusion, Directives in Angular are a key feature that helps developers create powerful and dynamic web applications with less code. They control how elements behave, look, and appear on the screen using simple HTML-based instructions. By using Angular Directives effectively, you can build apps that are clean, responsive, and easy to maintain. Understanding and applying directives is essential for anyone who wants to master Angular development.
Start your learning journey with our free technology courses and build practical skills to create amazing web apps. Take it further with our Angular certification training courses, and get ready for exciting career opportunities!
Practice yourself with the following MCQs
Q 1: Which of the following is a structural directive in Angular?
Question 1 of 10
FAQs
Angular directives are an excellent method to encapsulate reusable behaviors; directives can add attributes, CSS classes, and event listeners to an element. The directive composition API allows you to apply directives to a component's host element from within its TypeScript class.
In simple terms, a decorator is a TypeScript feature, not an Angular thing. However, decorators are widely utilized in Angular. A directive, on the other hand, is an Angular feature or concept rather than a TypeScript item.
Angular will not let you. You can only apply one structural directive to an element. The explanation is simple. Structural directives can perform complicated operations on the host element and its descendants.
The ngIf directive removes or recreates a piece of the DOM tree based on an expression. If the expression supplied to ngIf returns a false value, the element is removed from the DOM; otherwise, a clone of the element is put into the DOM.
Take our Angular skill challenge to evaluate yourself!

In less than 5 minutes, with our skill challenge, you can identify your knowledge gaps and strengths in a given skill.