18
AprMastering Azure Storage Explorer: A Comprehensive Guide
Azure Storage Explorer
Azure Storage Explorer simplifies cloud storage management so you can concentrate on creating amazing apps. Whether your data is stored in Azure as files, queues, tables, or blobs, this tool provides an easy method to access and arrange it. It is ideal for small projects as well as large-scale applications because it is simple to upload, download, and share your files.
In this Azure tutorial, I will cover the key features that simplify data management, how it integrates with other Azure services, and why knowing how to use this tool is important for working with data in the cloud.
| Read More: Top 50 Azure Interview Questions & Answers |
What is Azure Storage Explorer?
- Microsoft offers a tool called Azure Storage Explorer that lets you easily manage and work with Azure Storage resources from a single graphical user interface.
- Files, blobs, queues, tables, and even virtual machine drives may all be viewed, uploaded, downloaded, and managed within your Azure storage accounts.
- Large datasets, organized and unstructured data management, and code-free data creation, deletion, and editing are all made easier as a result.
Why Use Azure Storage Explorer?
You might wonder why Azure Storage Explorer is beneficial compared to the Azure portal. Here are a few key reasons:
- User-Friendly Interface: It is clean, and its basic style allows you to easily navigate your storage accounts, avoiding the complexities of other Azure administration tools.
- Cross-Platform Support: You can manage your Azure storage effortlessly whether you use Windows, macOS, or Linux.
- Multi-Account Management: Easily connect and manage numerous Azure storage accounts, making it ideal for managing various projects.
- Enhanced Data Management: Upload, download, delete files, manage permissions, and share access with ease.
- Local File Management: Drag-and-drop functionality lets you quickly move files from your local system into Azure Storage Explorer without unnecessary steps.
Key Features of Azure Storage Explorer
Azure Storage Explorer is packed with features that make data management straightforward. Here are some of its most useful capabilities:
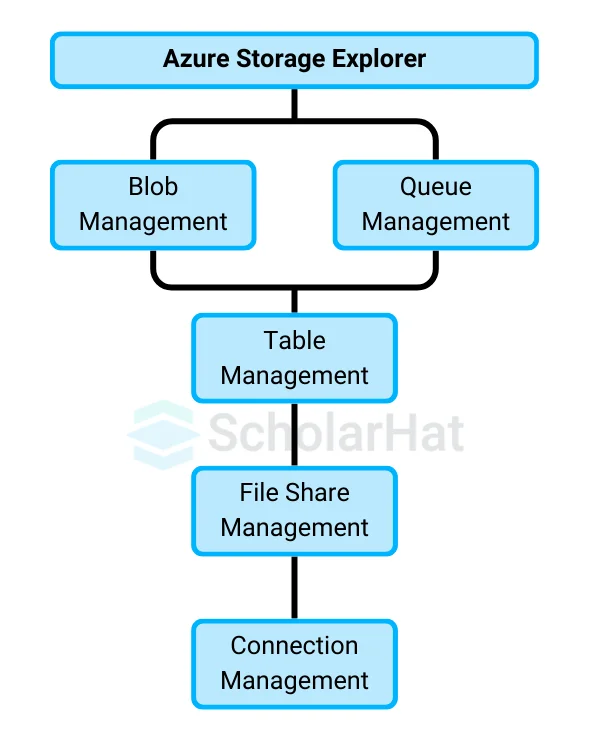
- Blob Management: View, upload, download, and delete blobs within Azure Blob Storage. Organize blobs into containers for better structure.
- Queue Management: Manage Azure Queue Storage, including creating, viewing, and deleting queues and their messages.
- Table Management: Work with Azure Table Storage by creating tables, inserting or deleting entities, and running queries to find specific data.
- File Share Management: Manage Azure File Shares just like local files, upload, download, and delete files easily.
- Connection Management: Connect to Azure subscriptions, add or remove storage accounts, and organize your connections to suit your workflow.
How to Download & Install Azure Storage Explorer
Here is how to get Azure Storage Explorer set up
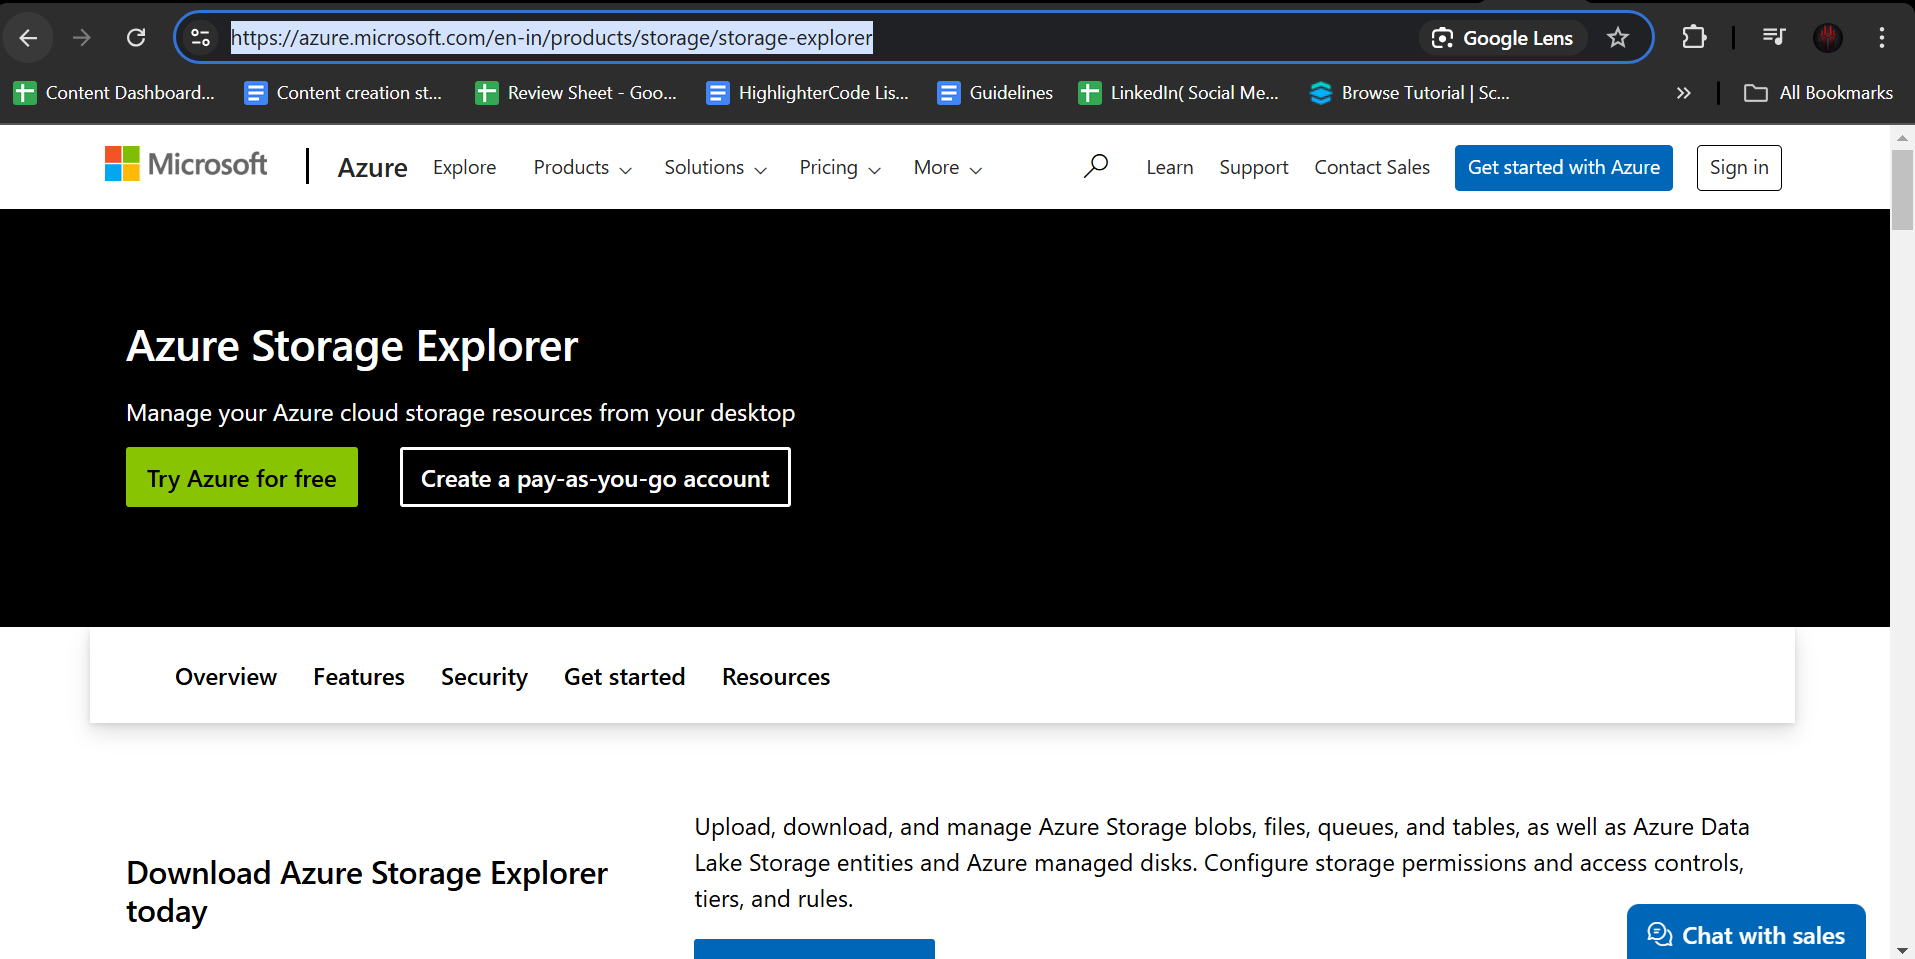
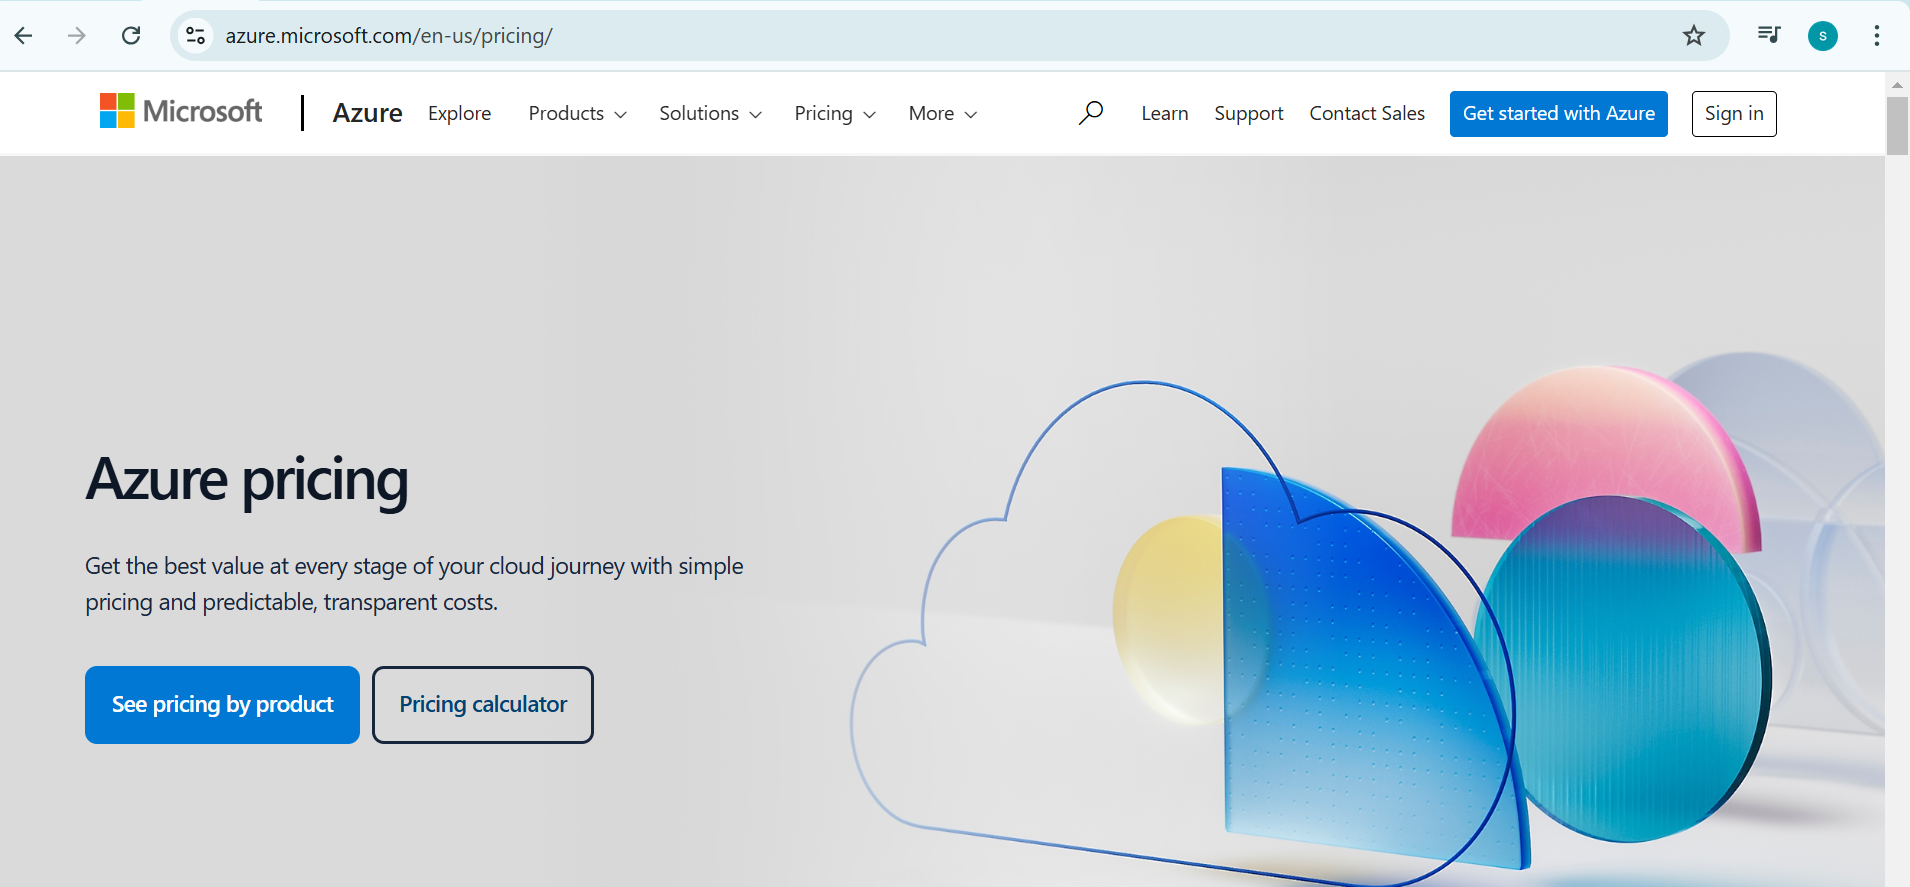
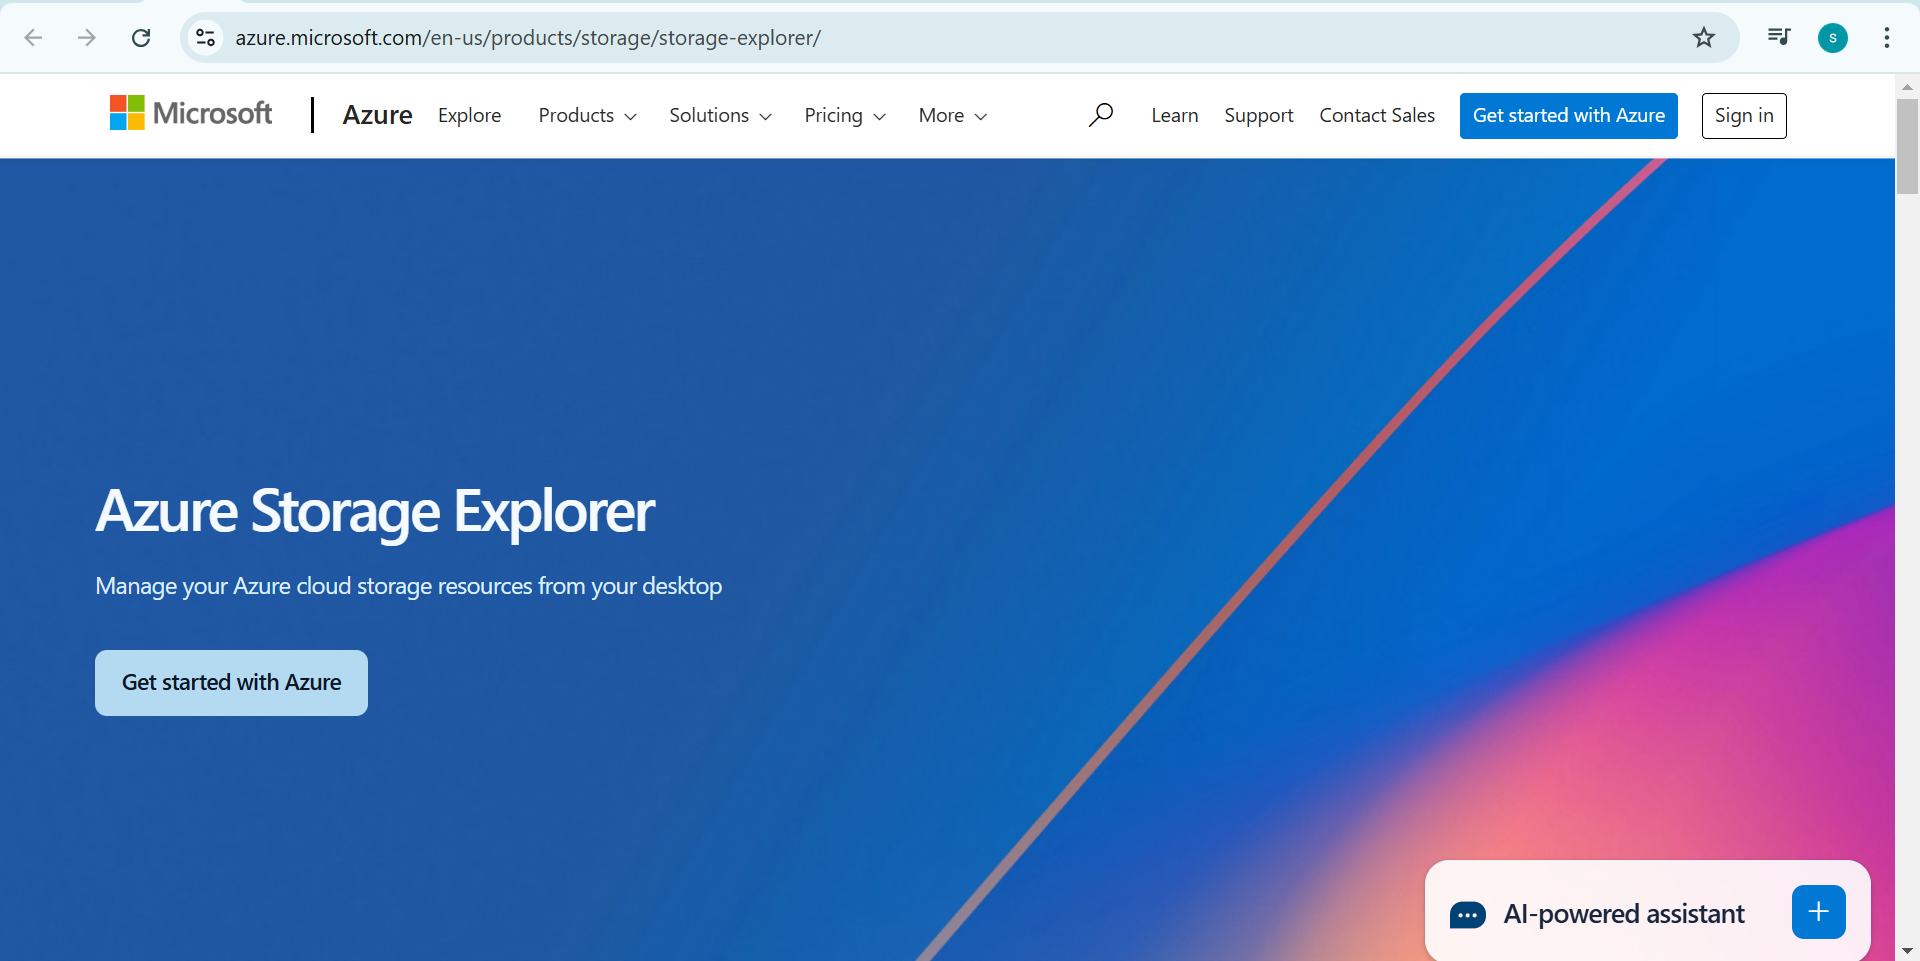
- Visit website: Visit the Azure Storage Explorer website. Visit Microsoft's official Azure Storage Explorer page.
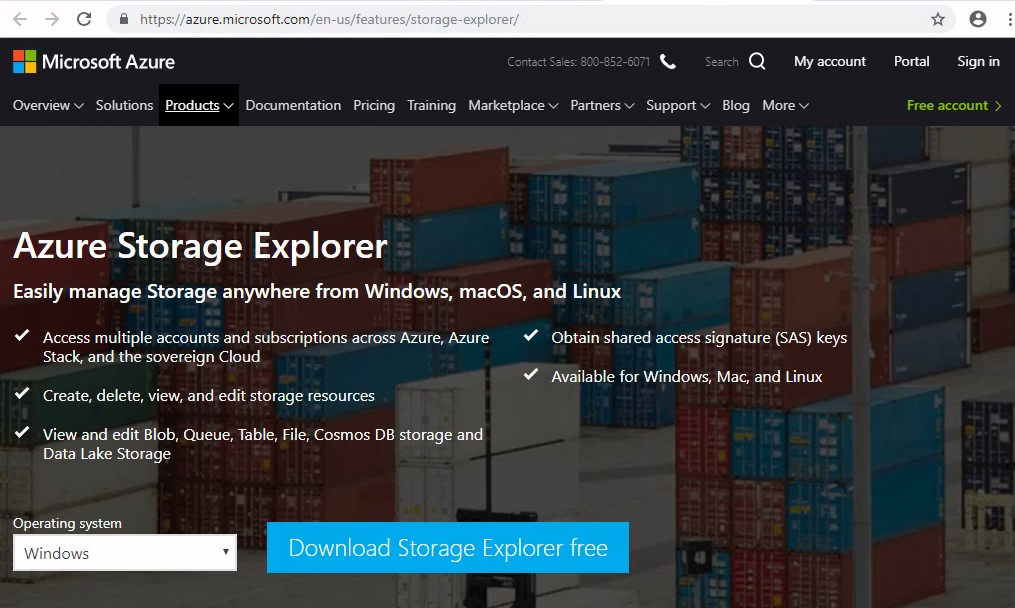
- Choose your version: Choose the version that is compatible with your operating system (Windows, macOS, or Linux).
- Download the installer: To obtain the installer file, simply click the download button.
- Run the installer: Once the download is complete, run the installer file and follow the instructions to install Azure Storage Explorer on your device.
- Launch the Application: After installation, open Azure Storage Explorer. You are now ready to start managing your Azure storage!
Setting Up Microsoft Azure Storage Explorer
After installing Azure Storage Explorer, you need to set it up to connect to your Azure storage accounts. Here’s how to do it:
1. Open Azure Storage Explorer: Launch the application on your device.
2. Sign In to Your Azure Account: Click on the “Add Account” option. You can sign in using your Azure account credentials. This process links your Azure storage accounts to Azure Storage Explorer.
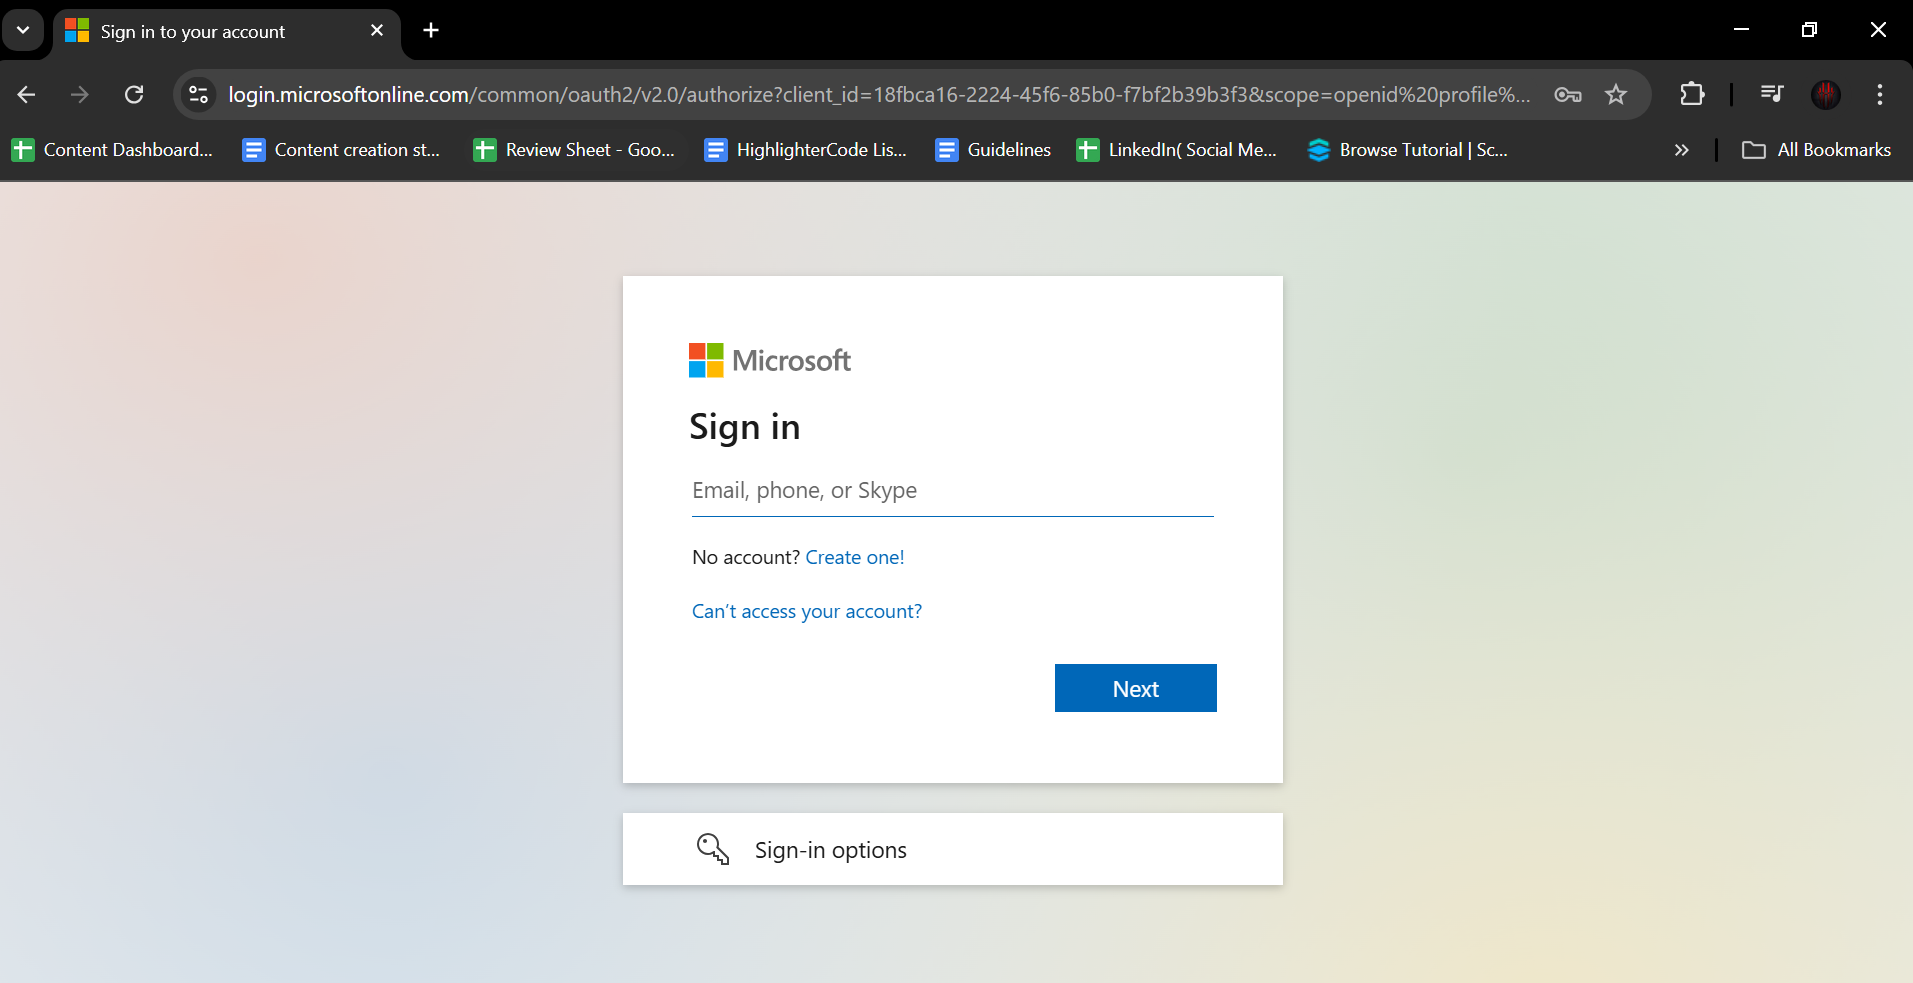
Choose Your Subscription: After signing in, select the Azure subscriptions you want to access. You will see a list of all your storage accounts linked to those subscriptions.
Connect to Storage Accounts: Once you select your subscriptions, Azure Storage Explorer will display your storage accounts. Click on the storage account you want to manage.
Start Managing Your Data: You are now connected to your Azure storage account. You can start uploading, downloading, and managing your data!
How to Use Azure Storage Explorer
Using Azure Storage Explorer is straightforward. Here’s a quick guide on how to use its features:
1. Managing Blobs
- To see your blobs, go to Blob Containers in your storage account. You will see all your blobs there.
- To upload a file, drag it from your computer or click the Upload button and choose the file. It will appear in the container after it uploads.
- To download a blob, right-click on it and choose Download. This will save it to your computer.
- To delete a blob, right-click on it and choose Delete. This will remove the file from the container.
2. Managing Queues
- To see your queues, go to the Queues section in your storage account. This will show you all your queues.
- To add a message to a queue, click the Add Message button. Type your message and click Send. It will be added to the queue.
- To view messages in a queue, click on the queue name. You will see the list of messages inside.
- To delete a message, click on the message you want to remove and choose Delete. This will take the message out of the queue.
3. Managing Tables
- To see your tables, go to the Tables section in your storage account. This will show you all your tables.
- To add a new table, click the Add Table button and enter a name for your table. It will be created in your storage account.
- To view the data in a table, click on the table name. You will see all the rows and columns with the information inside.
- To delete a row, click on the row you want to remove and choose Delete. This will remove the row from the table.
4. Managing File Shares
- To see your file shares, go to the File Shares section in your storage account. This will show you all your file shares.
- To create a new file share, click the Add File Share button and enter a name for your share. It will be added to your storage account.
- To view the files in a file share, click on the share name. You will see all the files and folders inside.
- To upload a file, click the Upload button, choose the file from your computer, and it will be added to the file share.
- To delete a file, click on the file you want to remove and choose Delete. This will take the file out of the file share.
Advanced Features of Azure Storage Explorer
Once you’re comfortable with the basics, you can explore some advanced features of Azure Storage Explorer:
- Data Lake Storage Support: If you utilize Azure Data Lake Storage, you can manage your data lakes in the same way that you would blobs and files. You can easily explore, upload, and download files.
- Share Access: You can allow others to access your storage account. To grant certain users access to a storage account or container, right-click it and select "Share," then follow the steps.
- Connection Strings: To connect to your storage account, use connection strings. This functionality is useful if you wish to connect without entering your Azure account credentials.
- Search Functionality: Use the search bar to quickly find blobs, queues, tables, or files. It saves you time when navigating through large datasets.
- Customizable Views: You can customize the layout and view of your Azure Storage Explorer. Adjust columns, sort data, and filter results based on your preferences.
Pricing and Cost Management for Azure Storage Explorer
Azure Storage Explorer itself is free to use. However, you should be aware of the costs associated with the Azure storage services you access through the tool. Here’s how to manage your costs effectively:
- Understand Pricing Models: Familiarize yourself with the pricing models for Azure storage services. Different services (like Blob Storage, Table Storage, etc.) have their pricing based on usage, transactions, and data storage.
- Monitor Usage: Use Azure’s cost management tools to keep track of your storage usage. You can set budgets and alerts to avoid unexpected charges.
- Optimize Storage: Regularly review your storage usage. Delete unused files or blobs to save costs. Use lifecycle management features to move data to lower-cost storage options when it is no longer frequently accessed.
- Explore Free Tiers: Some Azure services offer free tiers with limited usage. Take advantage of these to minimize costs while learning and developing your projects.
Summary
When comparing Azure Storage Explorer to other data management tools, each serves distinct purposes. Azure Storage Explorer excels in managing Azure storage accounts with a user-friendly interface that makes it simple to manage blobs, queues, tables, and file shares. It is great for developers, data analysts, and IT professionals who want to navigate and handle cloud data efficiently.The choice to use Azure Storage Explorer depends on your specific data management needs and workflow preferences. Master Azure Storage Explorer with our training resources to enhance your skills in managing cloud data. Sign up today on ScholarHat and start optimizing your Azure storage management! Boost your career with Azure expertise! Get certified and unlock new opportunities by signing up for our Azure Certification Training on ScholarHat now.FAQs
Take our Azure skill challenge to evaluate yourself!

In less than 5 minutes, with our skill challenge, you can identify your knowledge gaps and strengths in a given skill.


